The Rowing Ergometer: What it is and how to use it
Learn all about the rowing erg and its benefits in this article
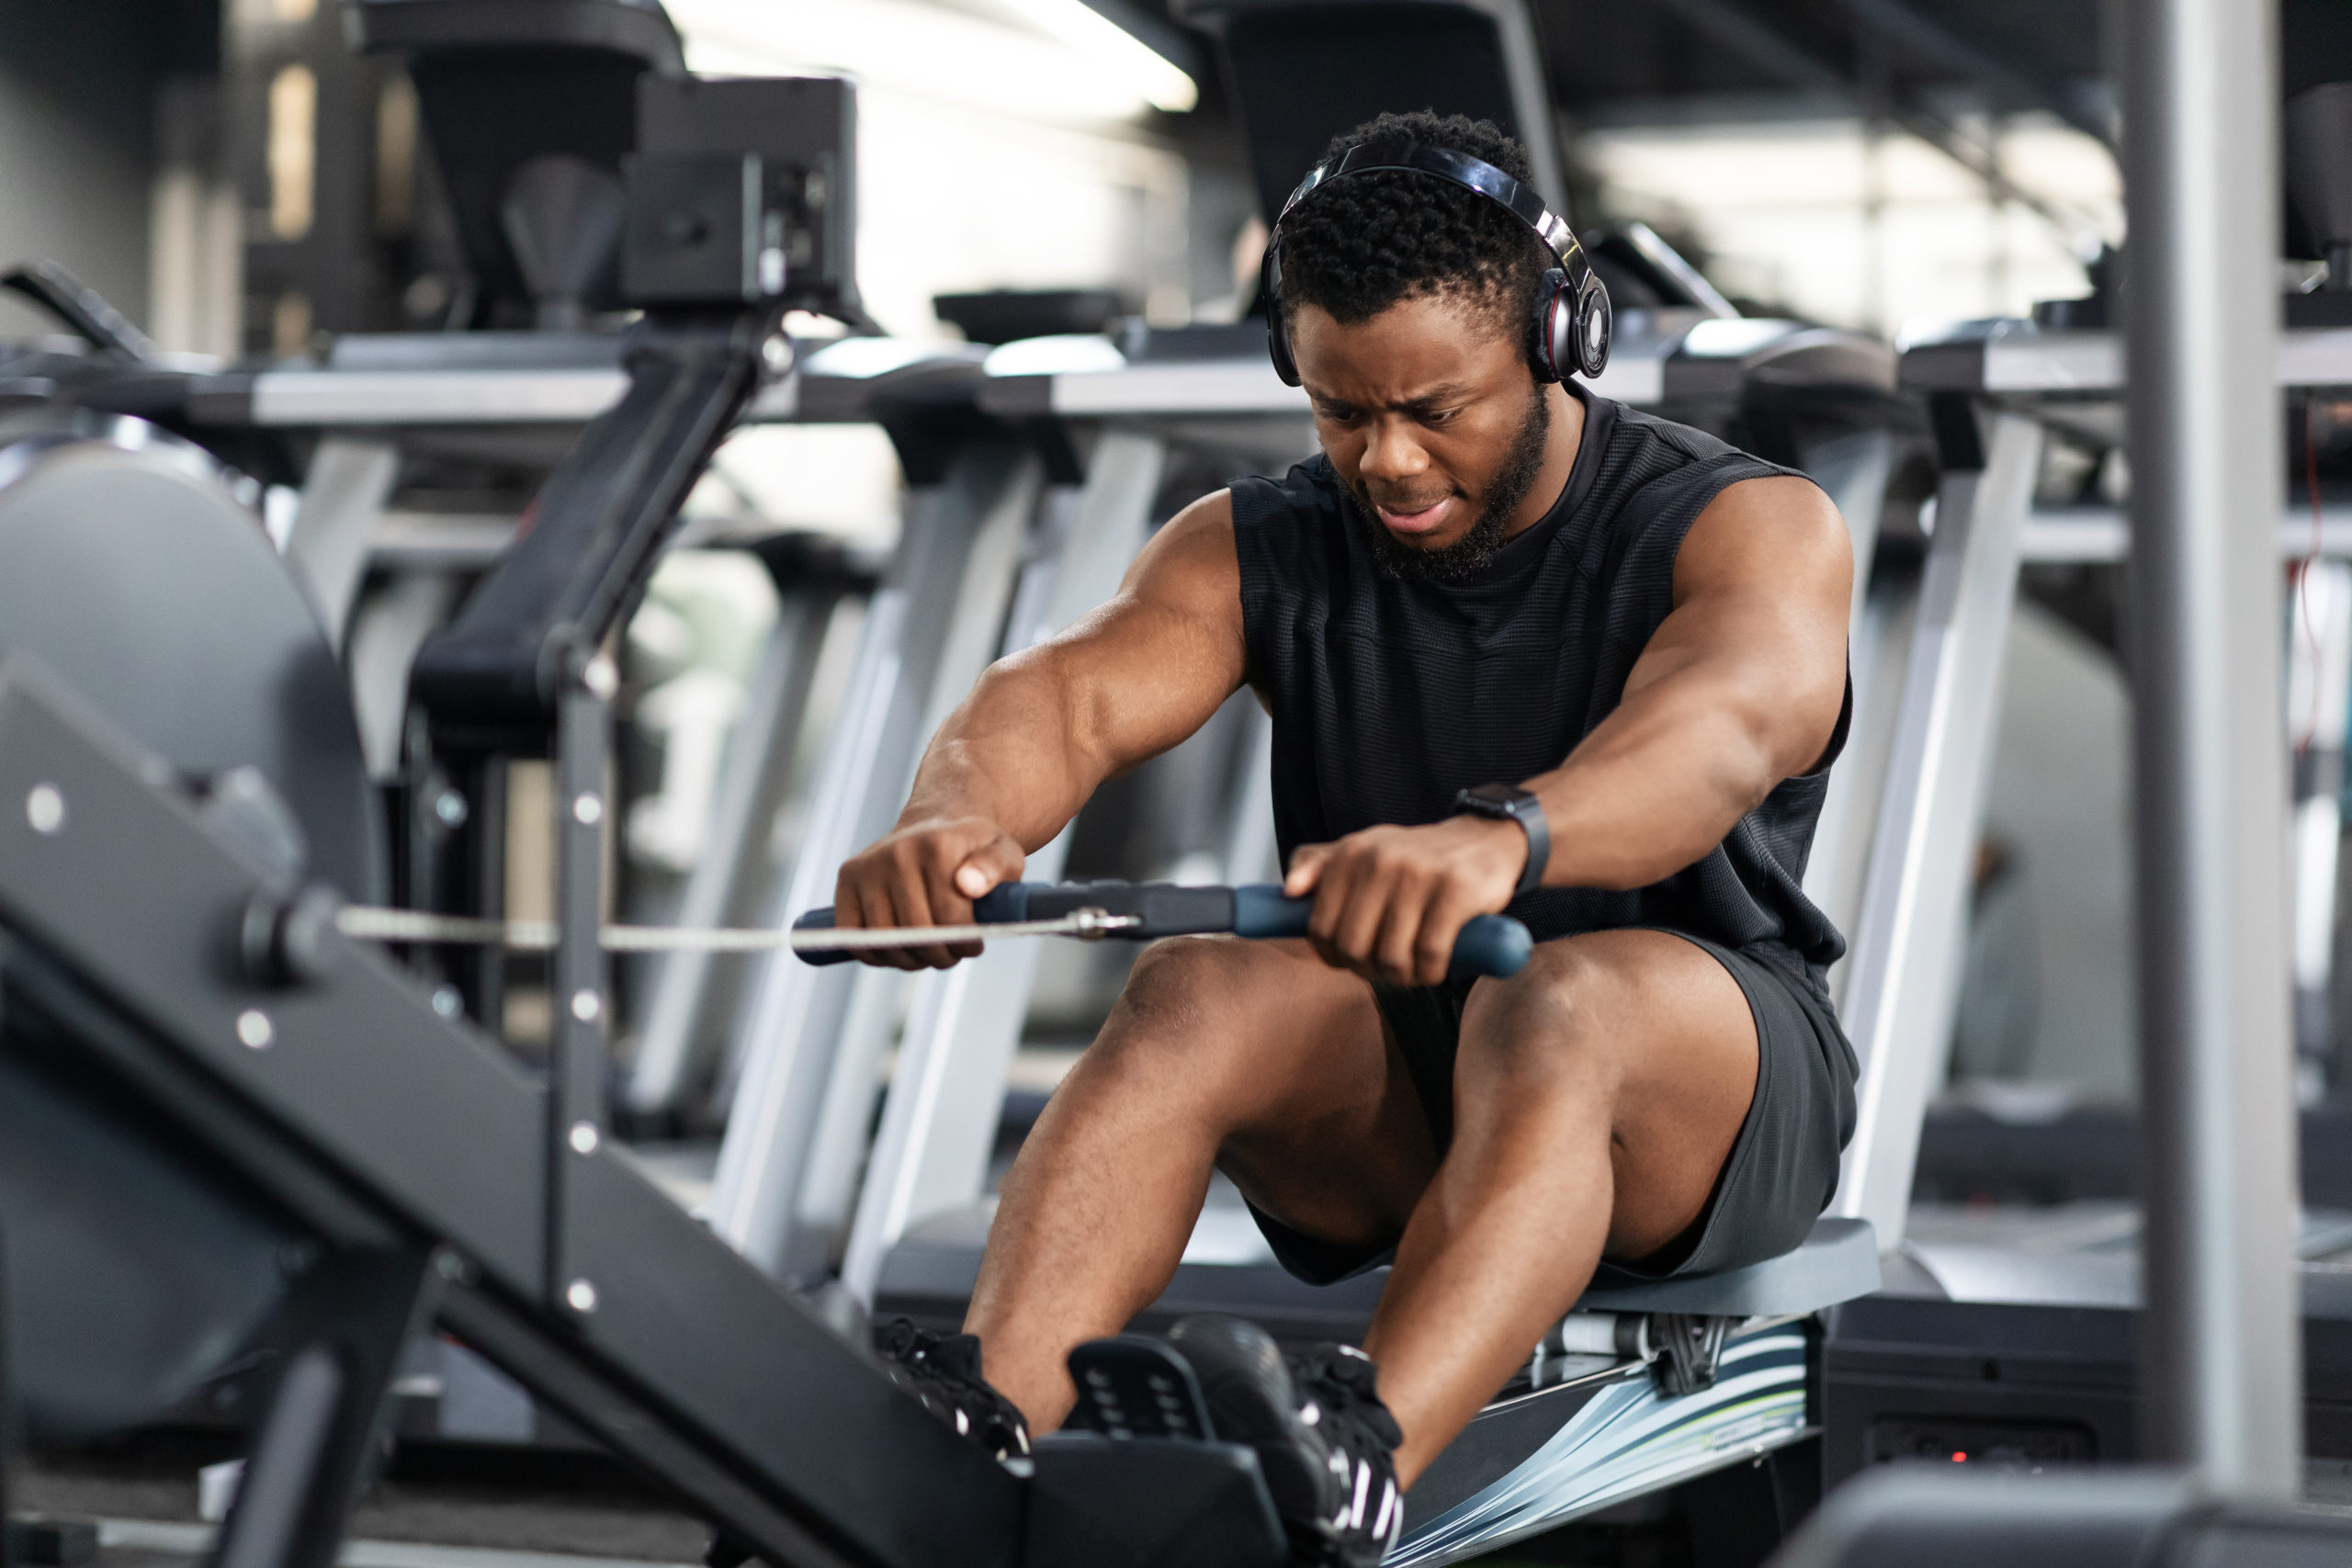
There are plenty of choices for cardio machines at the gym. Treadmills, ellipticals, stair climbers, recumbent bicycles, and all the variations for those machines. But none quite match up to the full body workout that you get from the rowing machine.
Rowing machines, or colloquially the “ergs”, are fantastic cardio machines that simulate the movement of rowing in a boat. Called an erg because of its ability to measure the ergometric effort of the rower, it’s a great way to continuously measure your workout.
The reason the rowing erg is such an effective workout machine is because of the form used when pulling engages not just the lower body, but the upper body as well. The breakdown of effort should be 60% legs, 20% core, and 20% arms, and targets the hamstrings, calves, and glutes along with pecs, arms, abs, and obliques. Plus, the continuous effort exerted while working out on the erg makes for a fantastic cardio workout, which helps with heart health and endurance!
The Technique
If you’ve seen a rowing machine, you may have been hesitant to use it, considering there is a bit of knowledge involved in its use. But like any machine, the proper form will help prevent injury and maximize your gains when using the equipment. For a rowing erg, the form used can be broken into 4 parts. Throughout each phase, it’s important to keep your back straight and your shoulders relaxed.
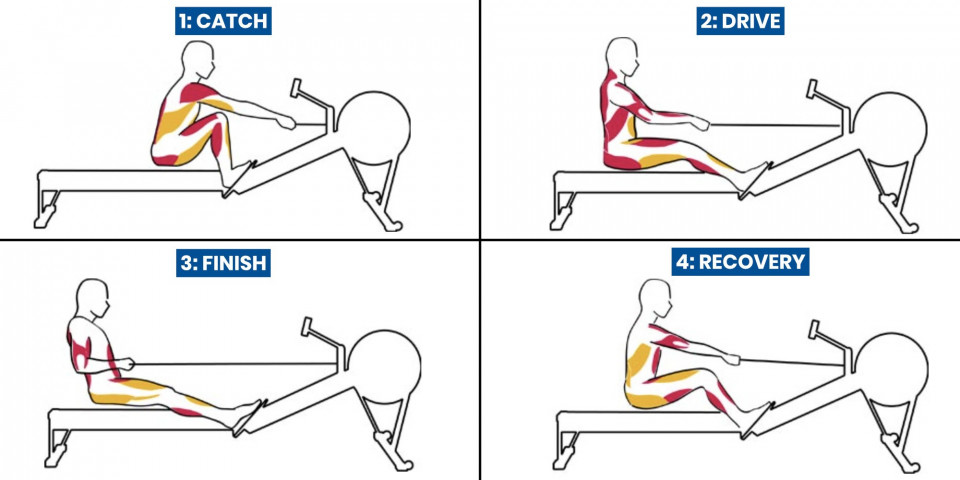
- The Catch – To start your workout on the erg, the beginning position should be with your legs bent and pulled in, back roughly parallel to your thighs. With both hands on the handles, arms fully extended your back should be straight and your shoulders relaxed. There should be a slight lean forward from the hips to be able to grip the handles, so that you can engage your core on the drive.
- The Drive – Most of the work from the driving motion should come from your legs, roughly 60% of the effort of the stroke. Push and extend with your legs while letting your upper body maintain it’s position. After you’ve extended your legs, lean back slightly from your hips while engaging your abdominal muscles, roughly 20% of the effort. Finally, you’ll pull the handles toward your chest, keeping your forearms parallel to the ground, equating the final 20% of the effort of the stroke. When starting out, it’s a good idea to practice these 3 components separately to become more familiar with the movement. Remember to keep your back straight and engage your abs to reduce the chance of injury.
- The Release – Also known as The Finish, your legs should be fully extended and flat. Your shoulders should be slightly behind your hips and your arms fully contracted with elbows bent and the handle at your chest, just below the nipples.
- The Recovery – This is your chance to recover your energy from the stroke with movements going in the reverse order of the drive. From the release, extend your arms fully, lean forward slightly from the hips, and bend your knees to return yourself to the starting position. You should now be back at the catch to start the stroke over again. When moving through the phases, the push and pull movement should be performed to the cadence of “POWER” and the recovery to the cadence of “patience”.
POWER—patience—POWER—patience—POWER—patience